How to Generate and Use an Access Token in Testlify
Access tokens are used to securely authenticate API requests in Testlify. Follow the steps below to generate and manage your access token.
Step 1:
Log in to your Testlify workspace.
Navigate to Access Token Settings
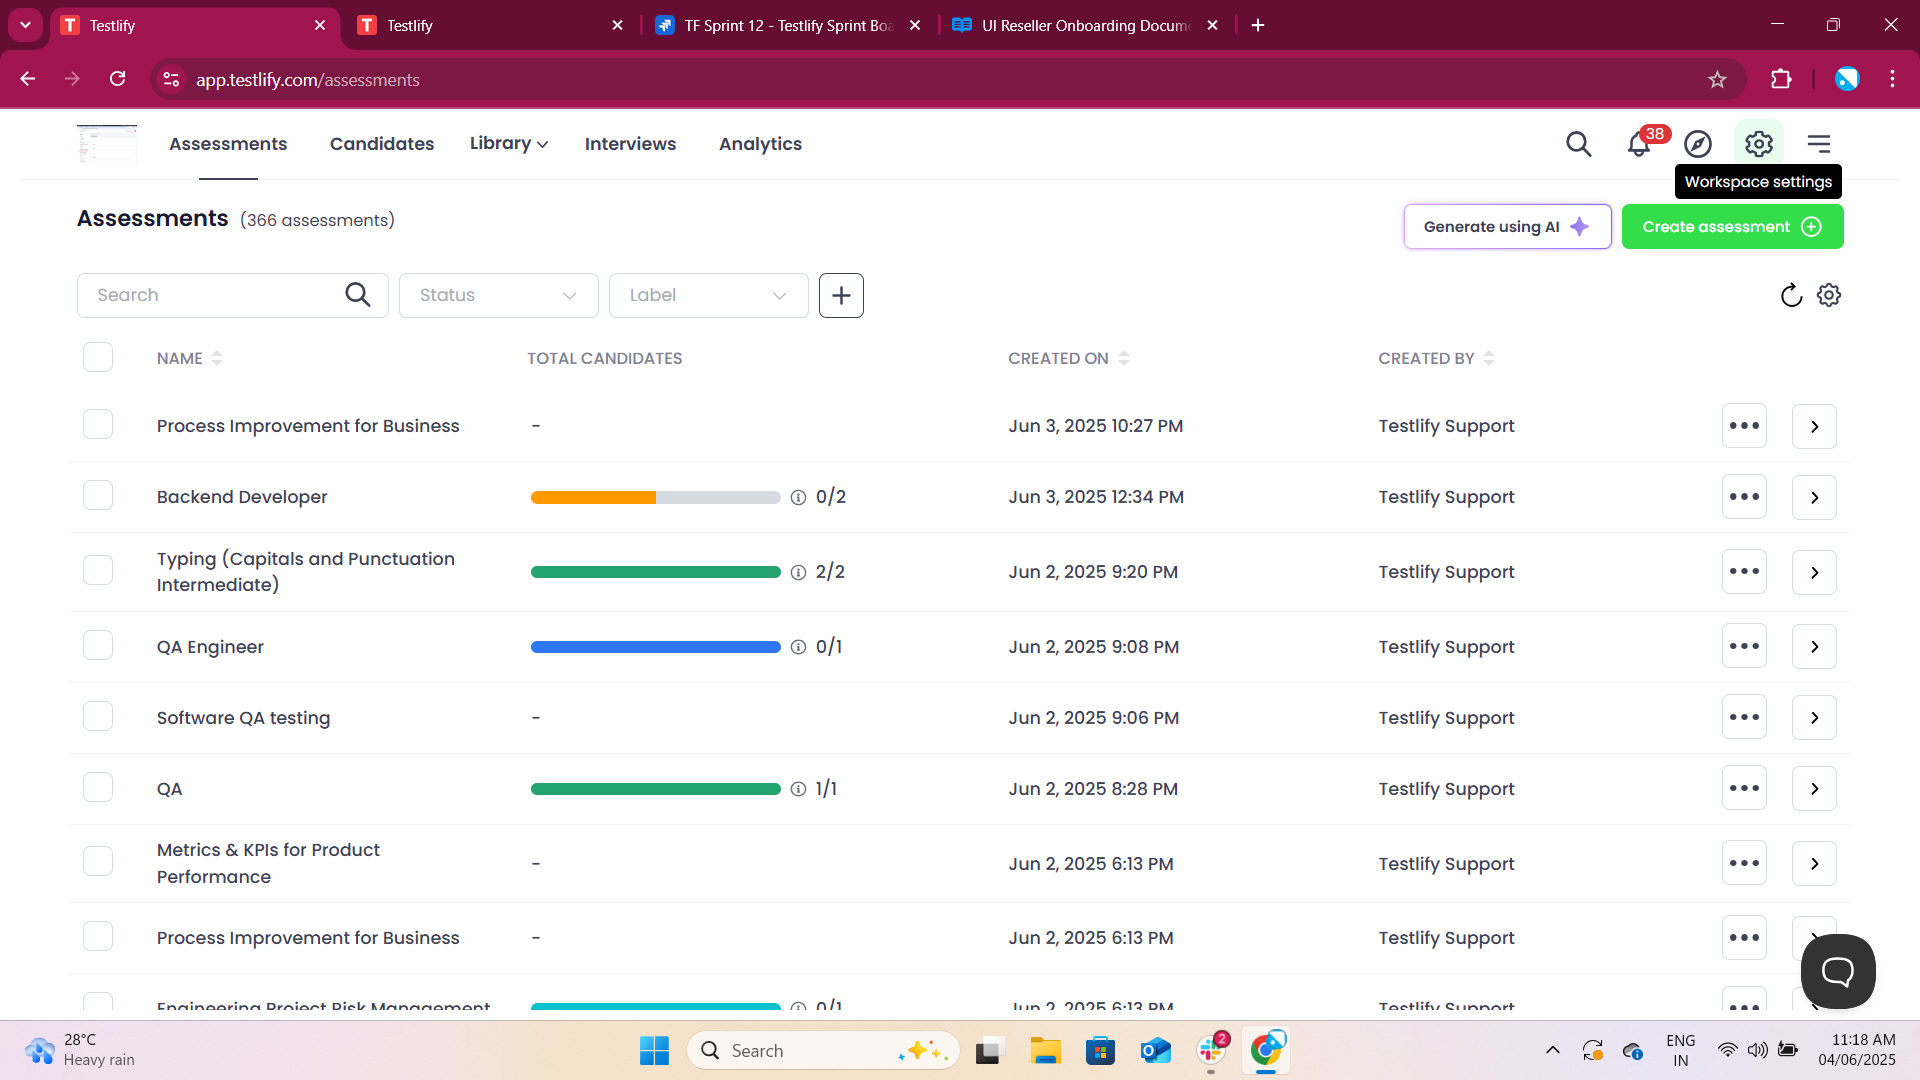
Click on the Settings icon (⚙️) in the top navigation bar.
From the left sidebar, scroll to the "Developers" section.
Click on Access token.
Step 2:
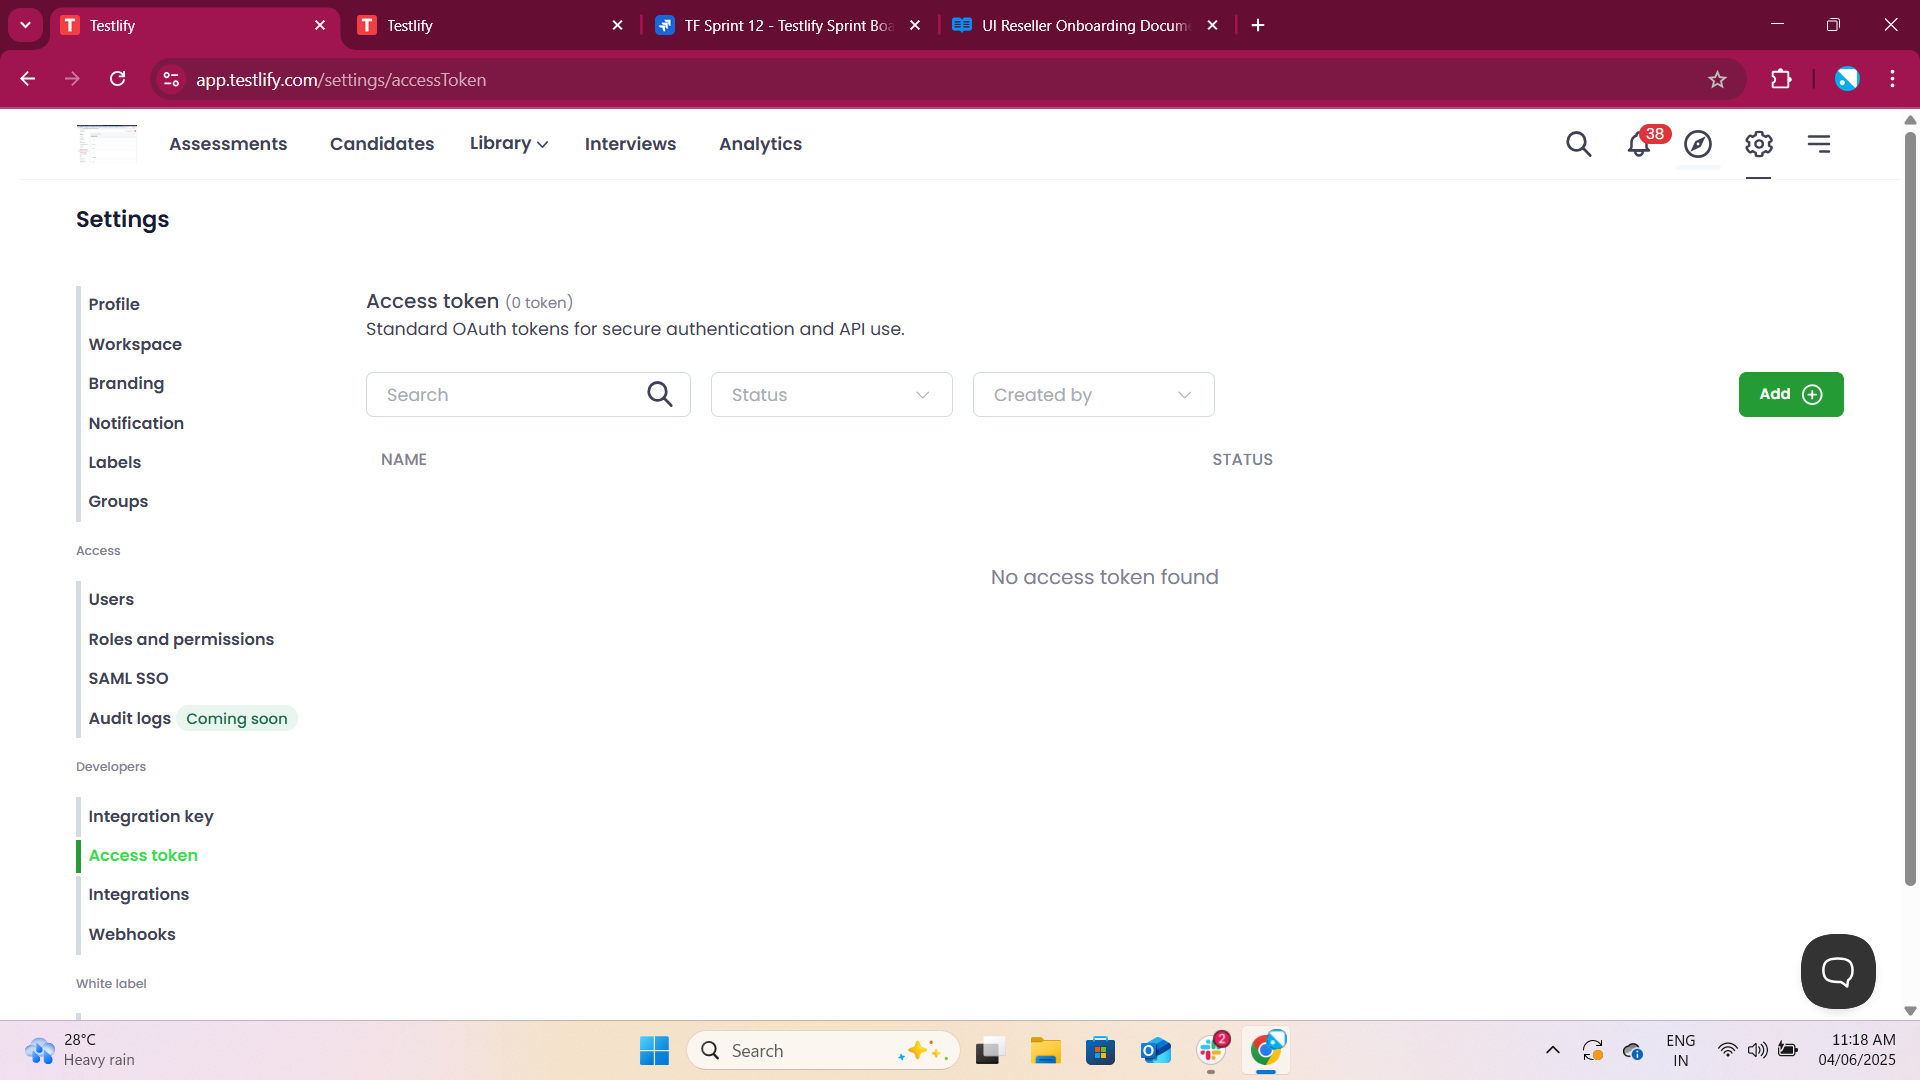
Create a New Access Token
Click the “Add” button on the Access token page.
In the Notes field, give a name to your token (e.g., "Test" or the purpose of the token).
Set the Expiration:
Choose from predefined durations (7 days, 15 days, 30 days)
Or set a Custom date,
Or choose No expiration if you don’t want it to expire.
Click Generate.

Step 3:
Copy and Save the Access Token
Once the token is generated, it will be shown only once.
Copy the access token immediately by clicking the clipboard icon or manually selecting the token.
Save the token in a secure place (e.g., password manager or environment variable).
⚠️ Important: For security reasons, Testlify does not display the token again after you leave the screen.
Step 4:
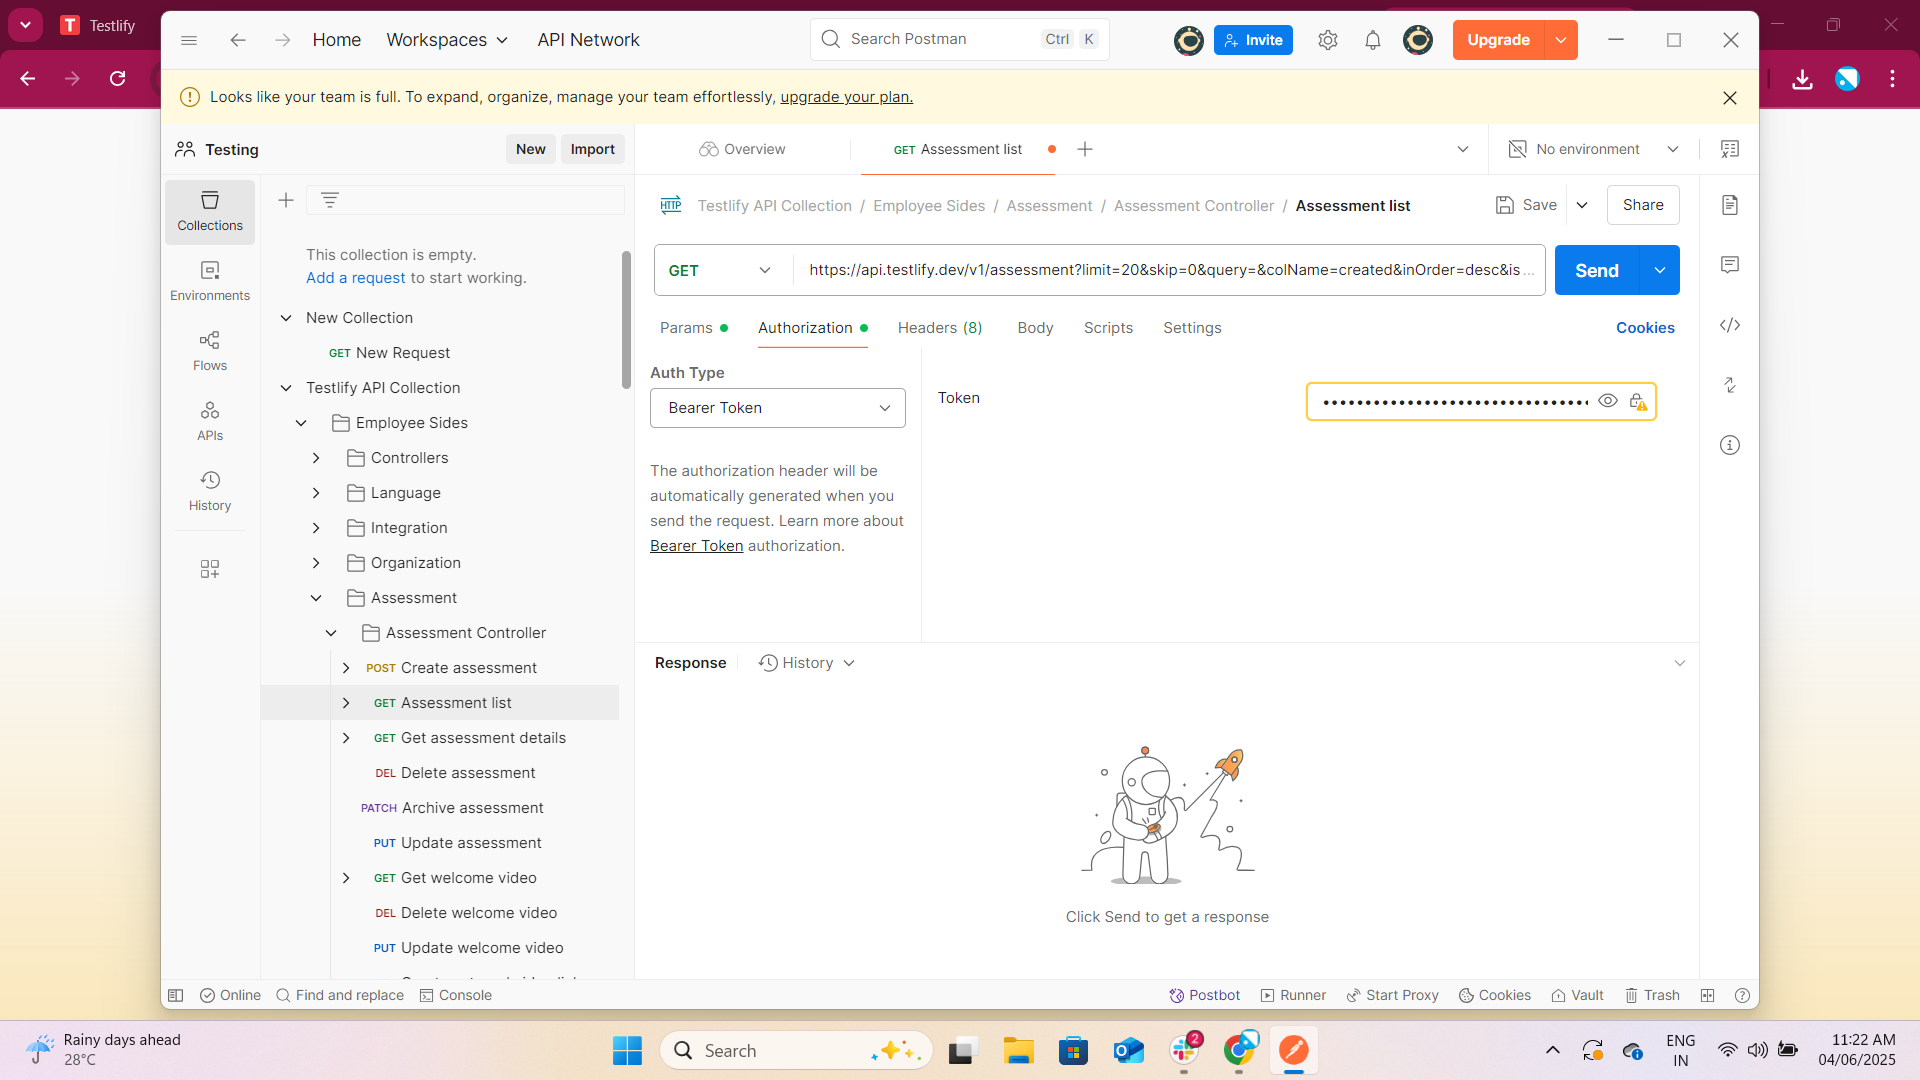
Use the Token to Call the API
You can now use this token in your API requests. Add it to the request header as follows:

Updated 9 months ago