Reseller - Workspace Creation
- Adding workspace under reseller through domain flow (Using UI).
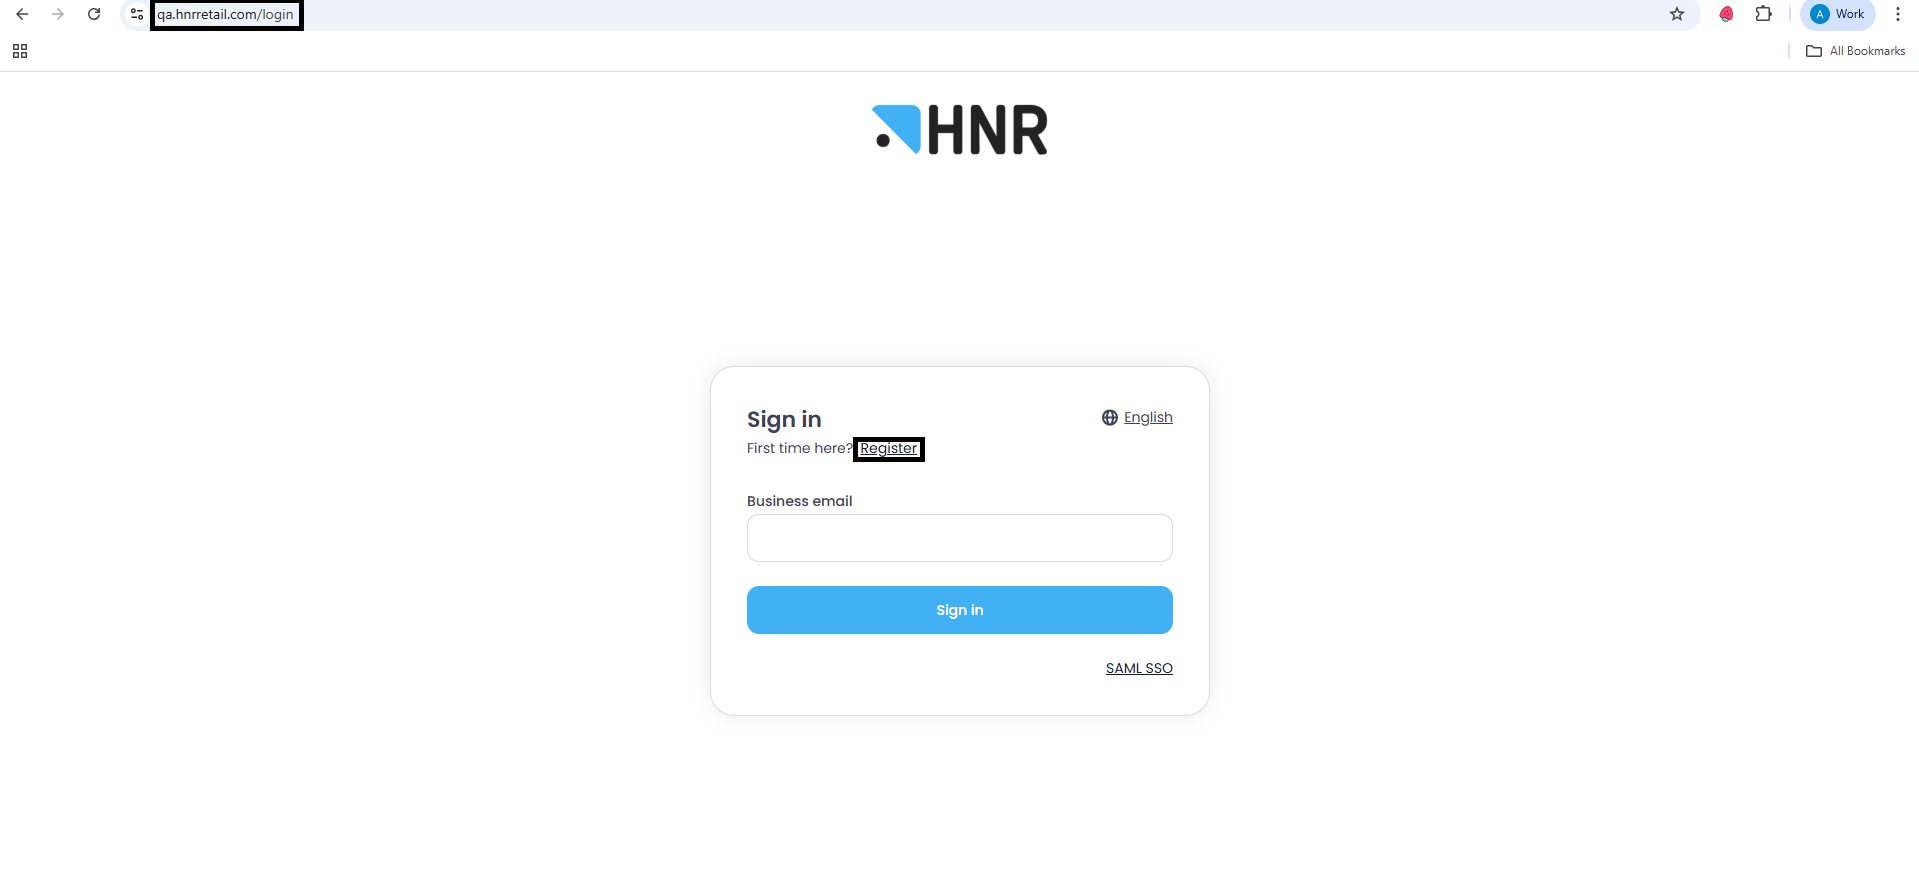
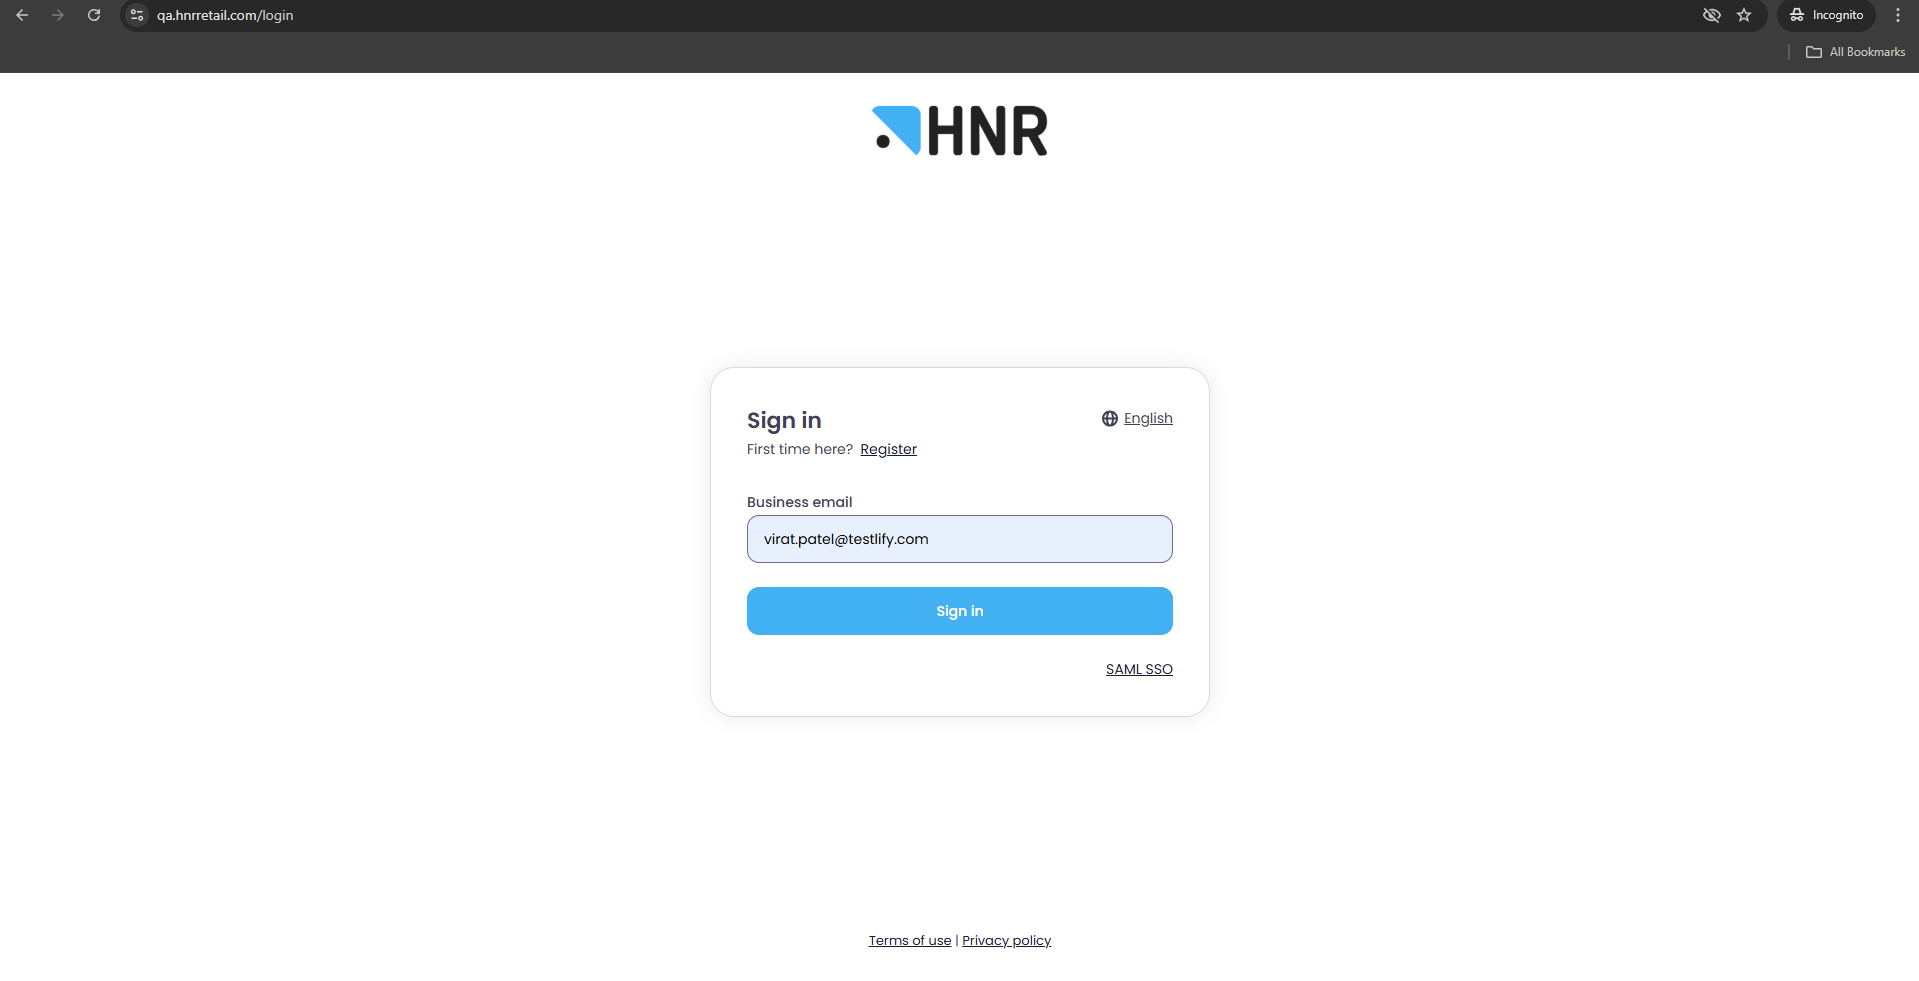
Enter your employer URL. In this case, the employer URL used is qa.hnrretail.com. Then, click on Register to create an account.
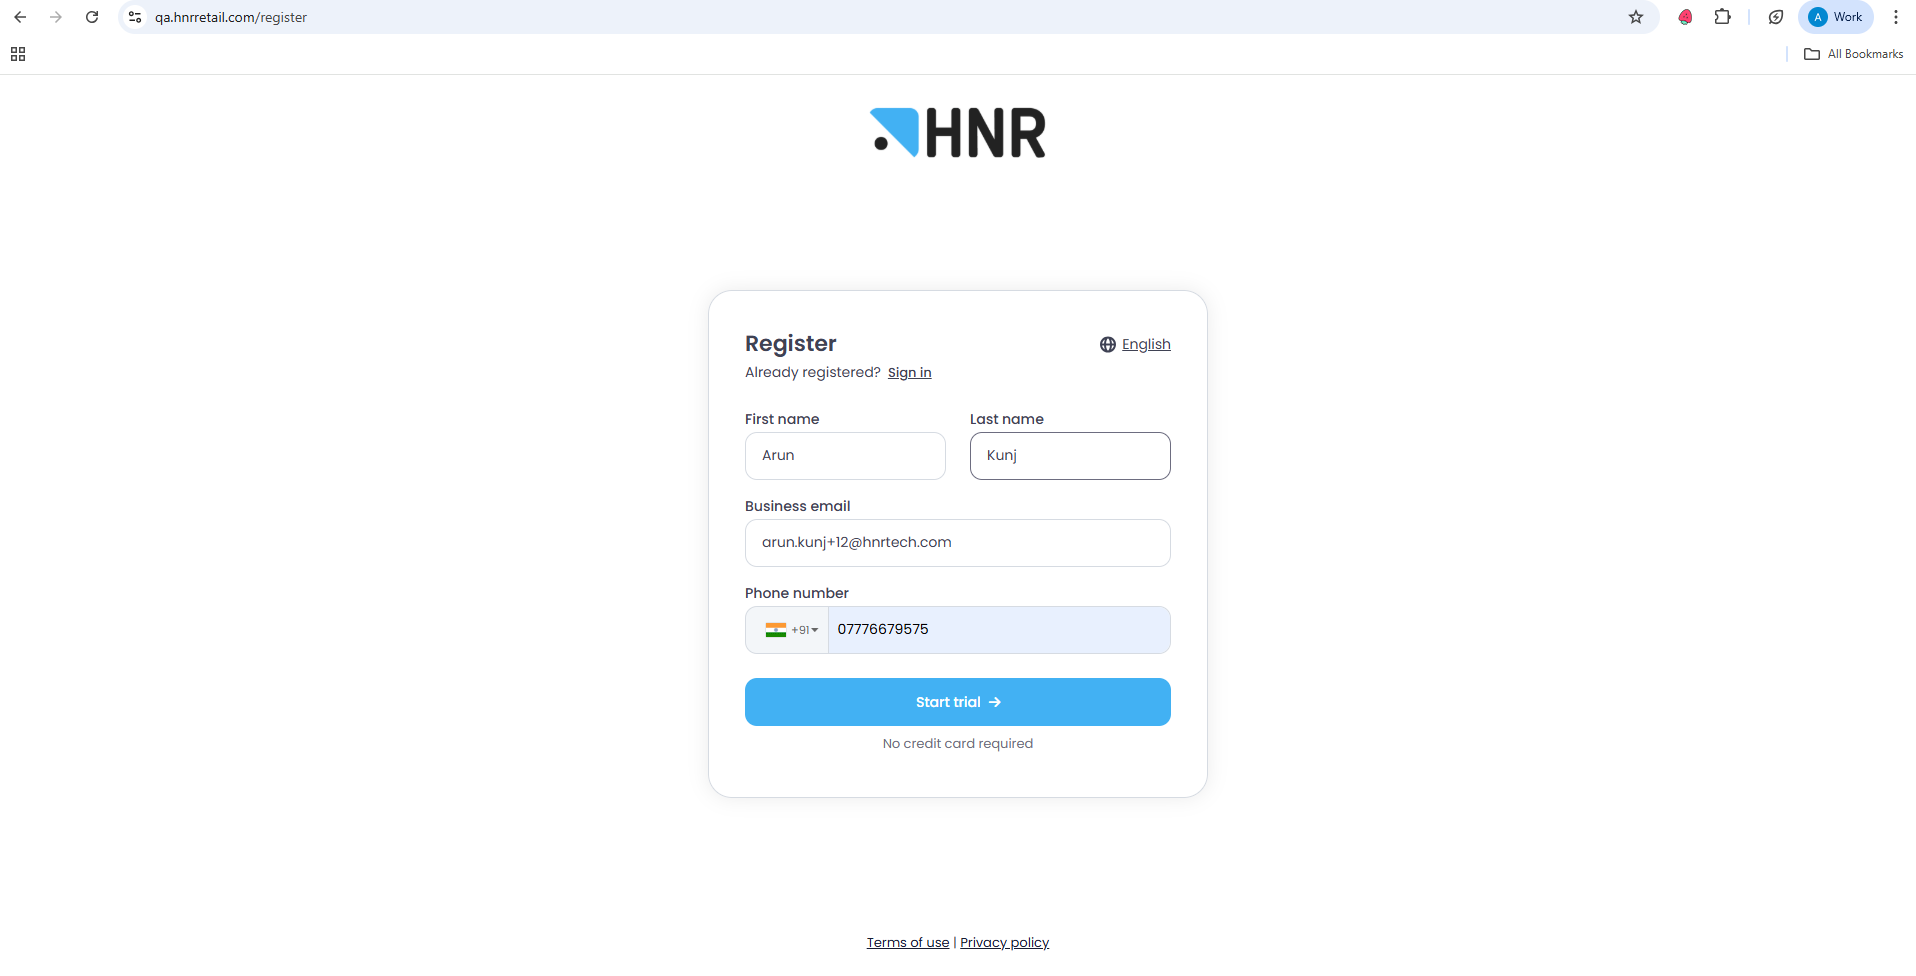
- Enter all the required details, then click Save trial
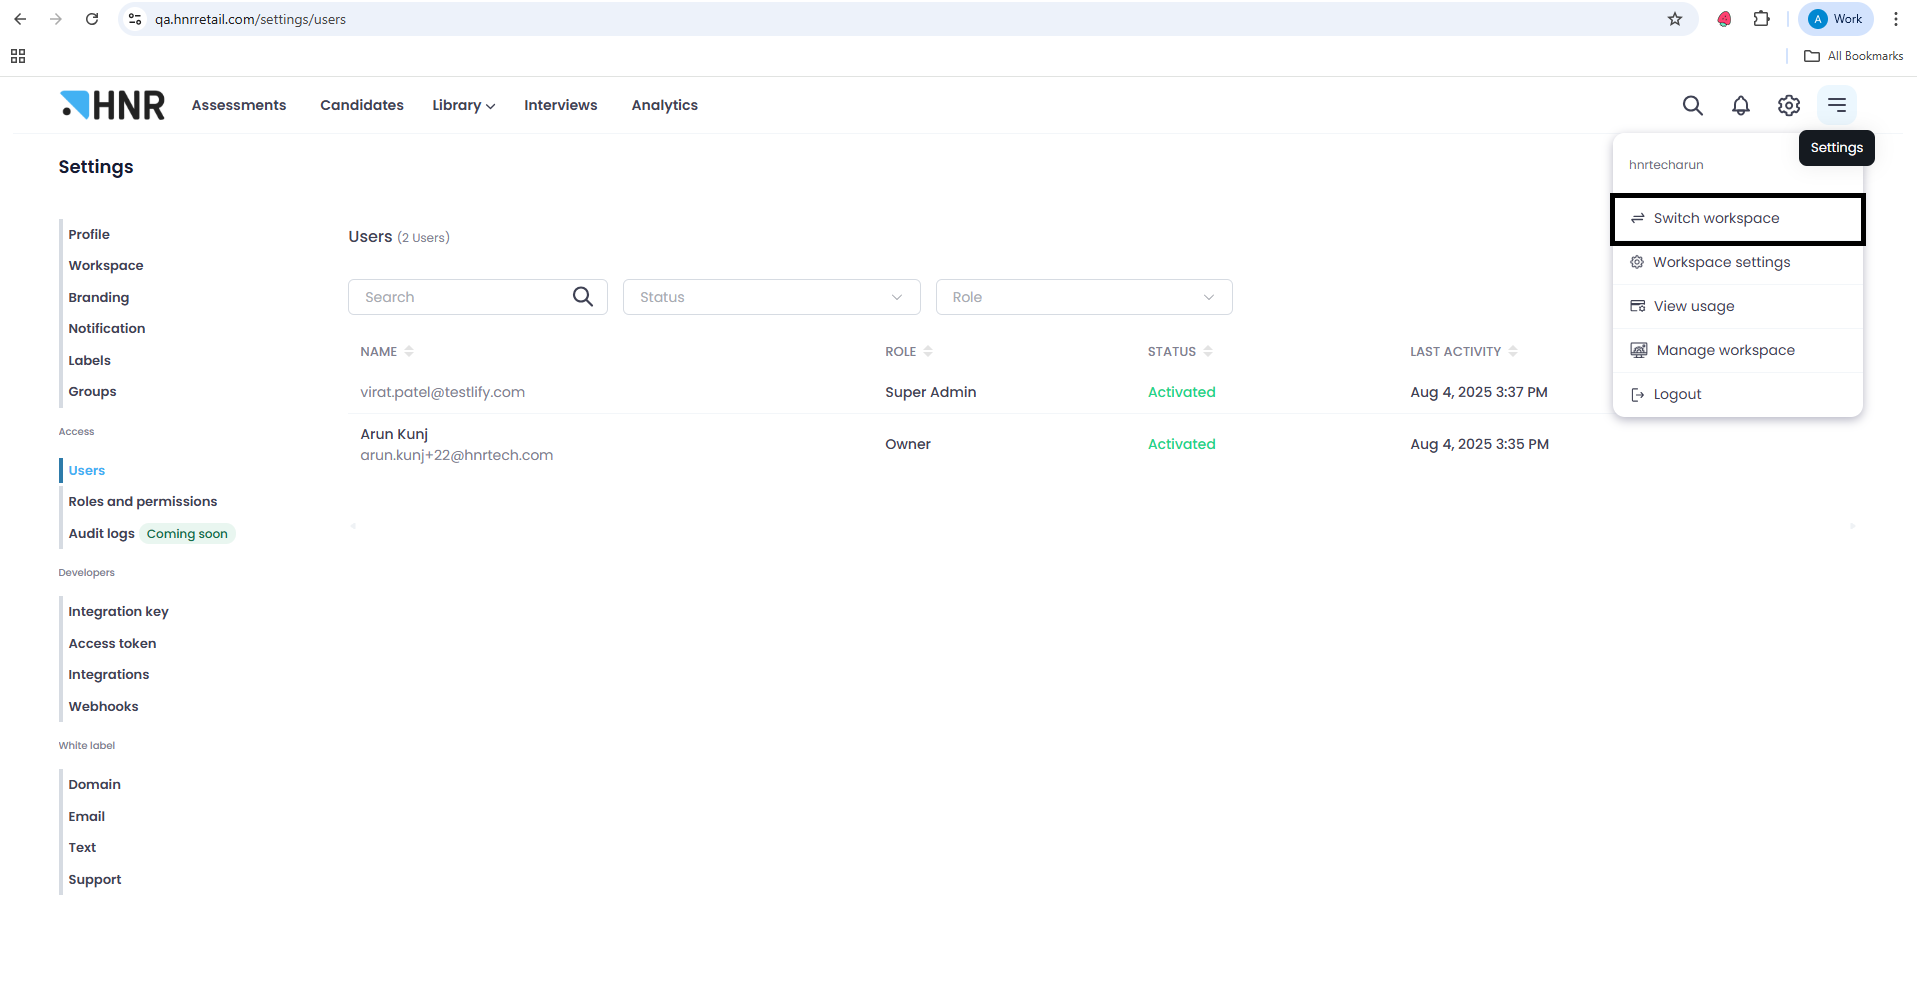
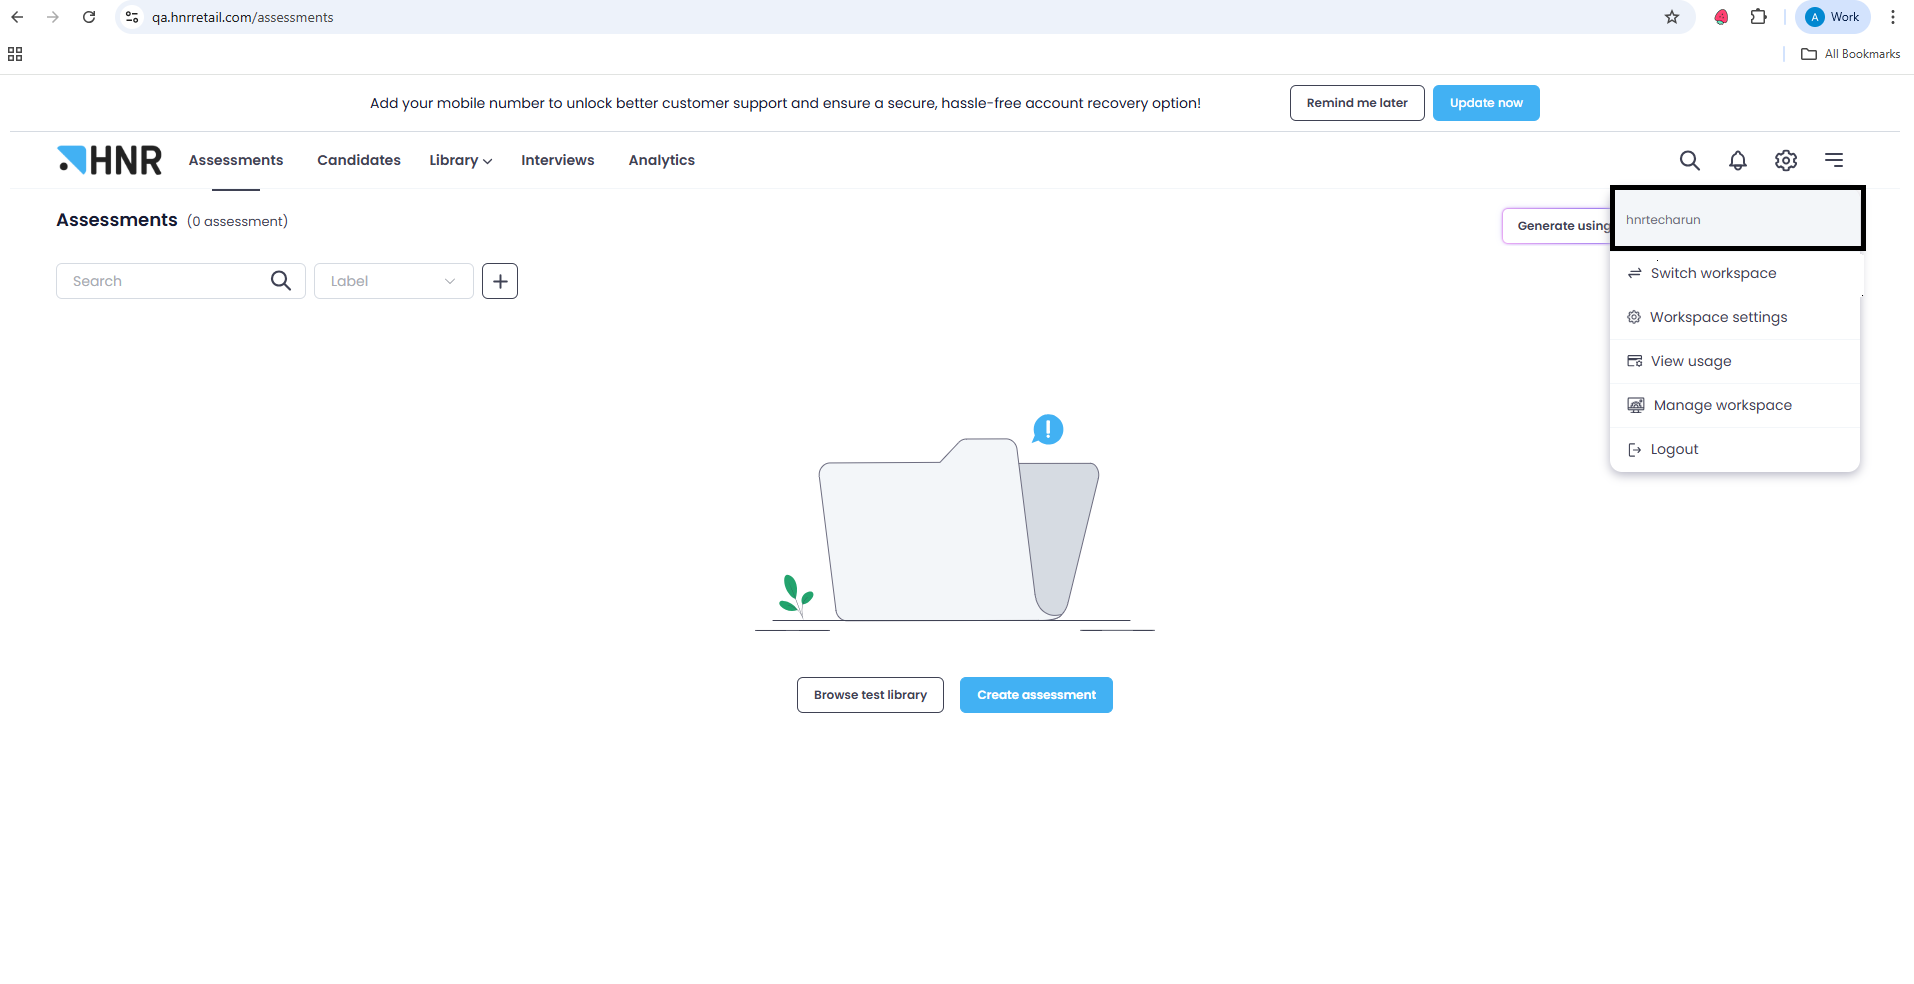
- To create new workspace -> Go to settings -> Click on switch workspace -> Click on create new a workspace
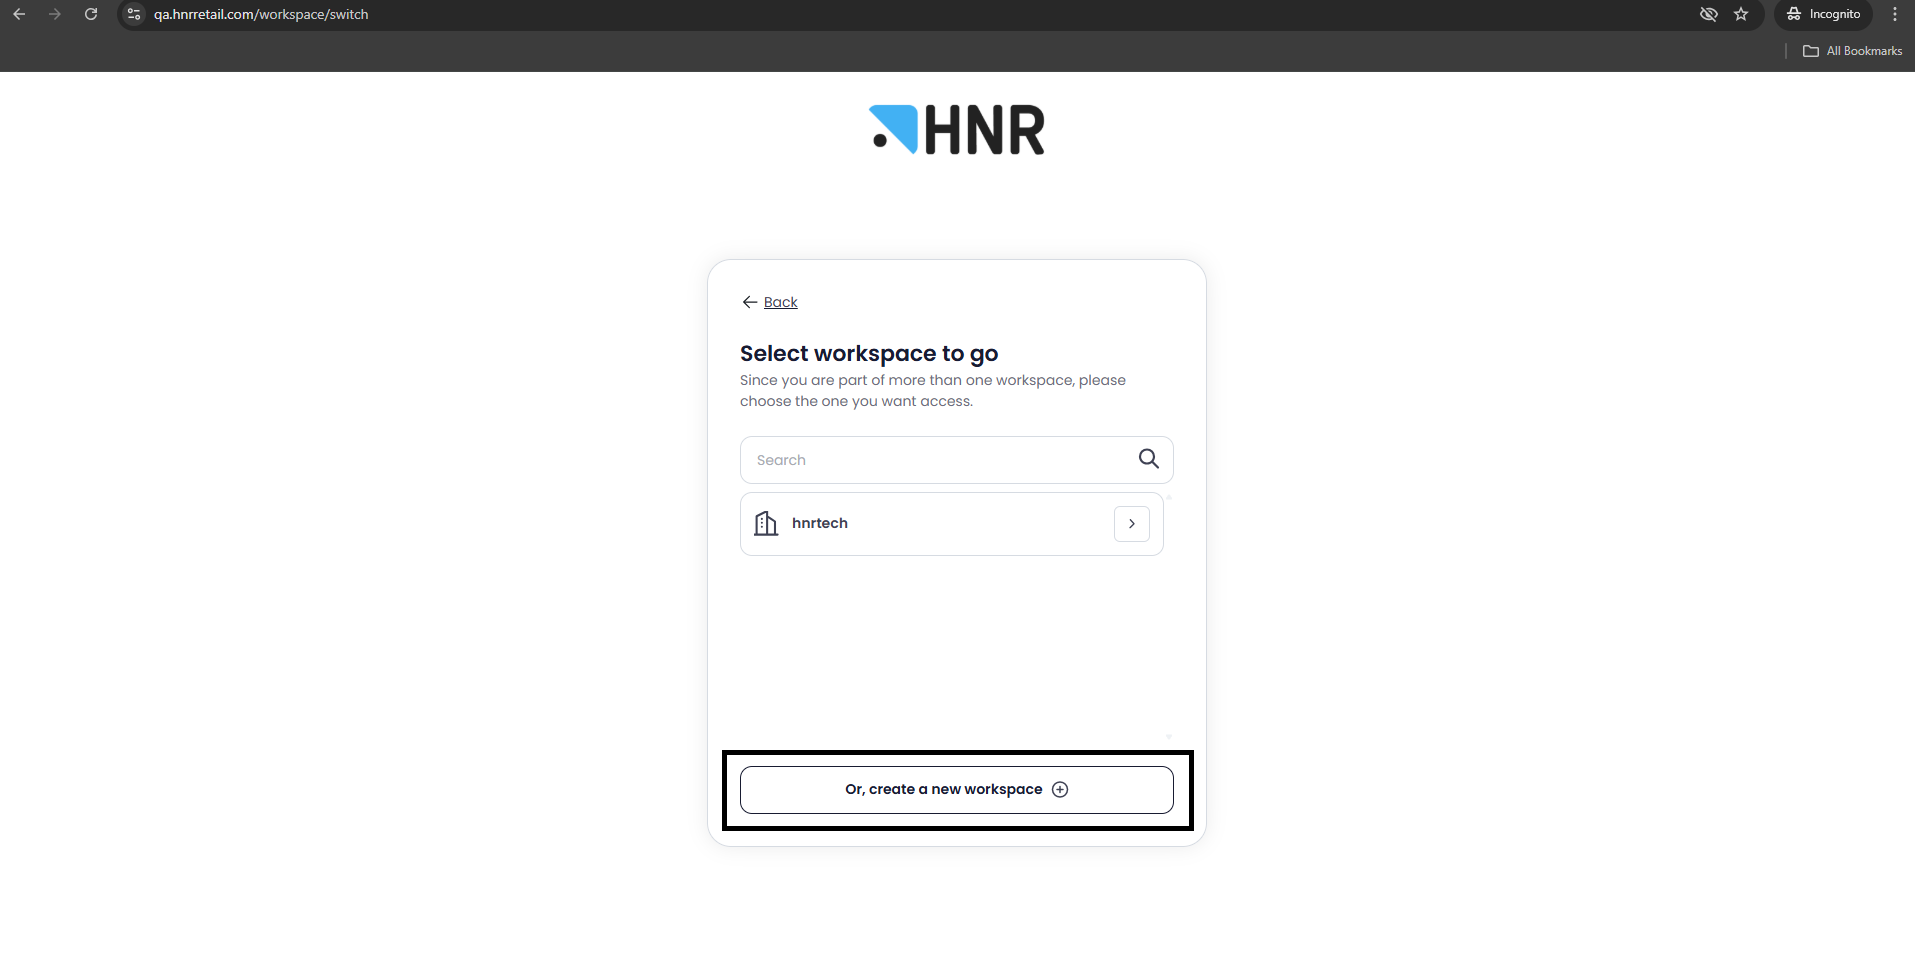
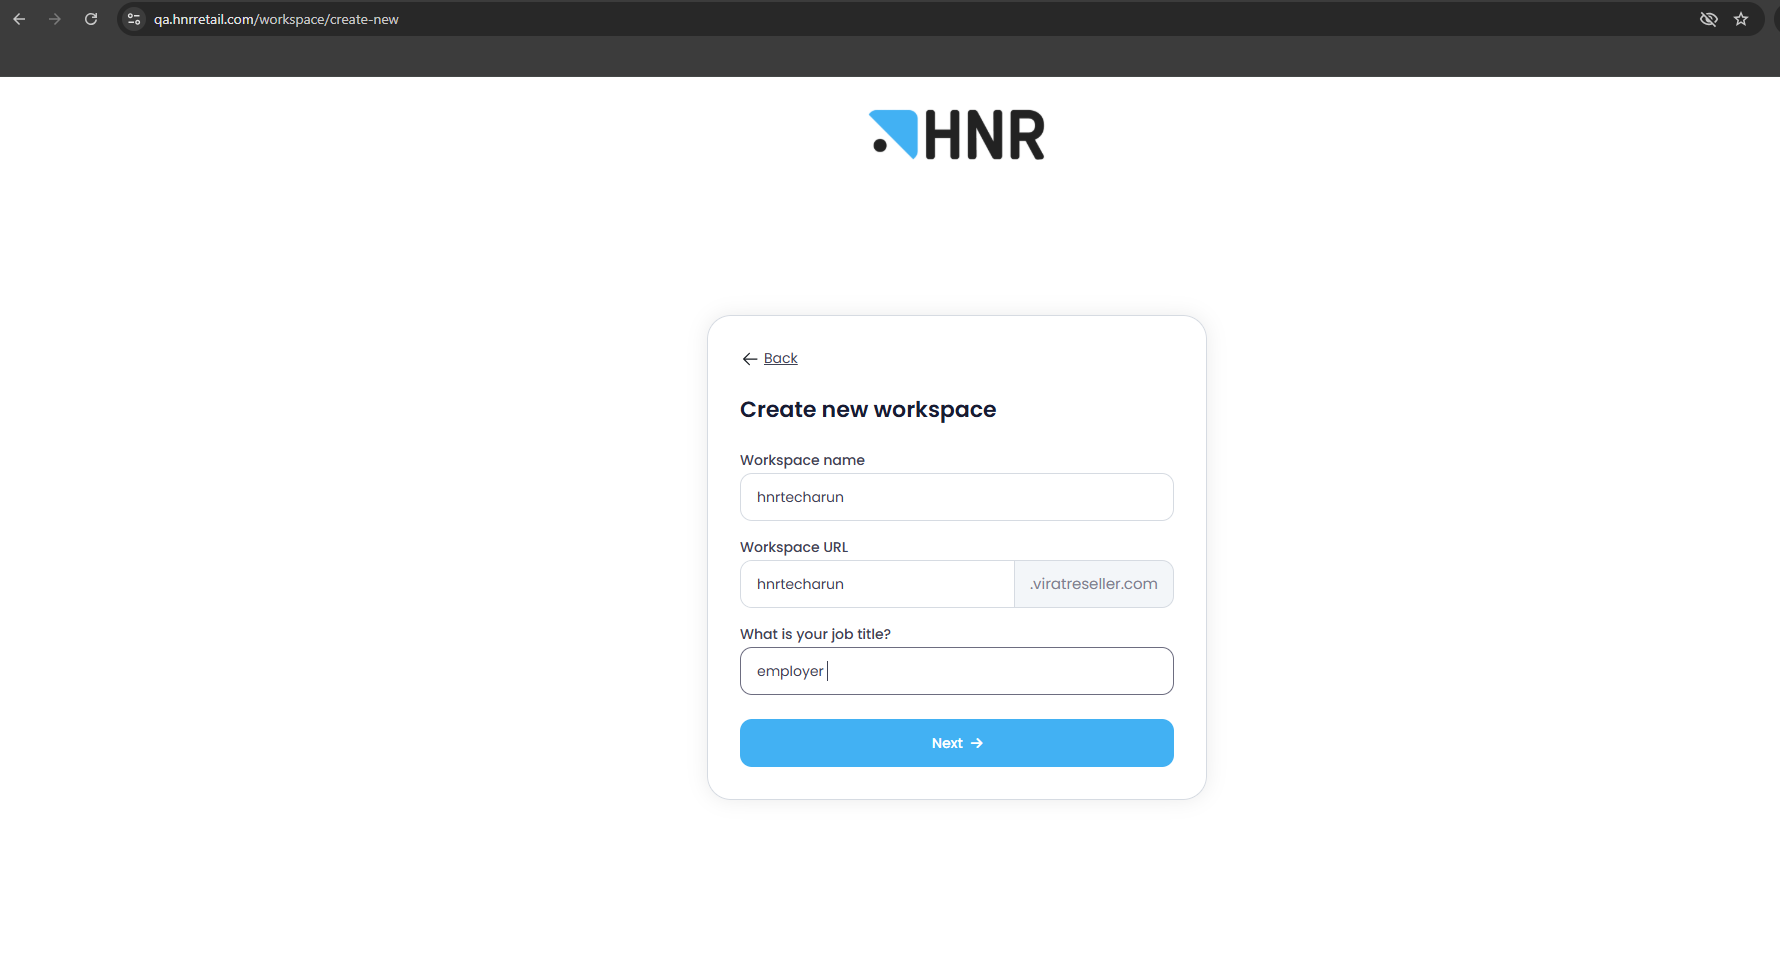
- Enter all the required details, then click Next, and a new workspace will be created. In this case, hnrtecharun is the workspace that was created
- Adding workspace under reseller using APIs with api-key.
A detailed guide for this is provided separately. Please click on this link https://docs.testlify.com/reference/register_reseller#/ for the detailed guide.
- Accessing the reseller workspace with the super admin account.
Log in using the super admin email. In this case, for the employer URL qa.hnrretail.com, the super admin is [email protected]
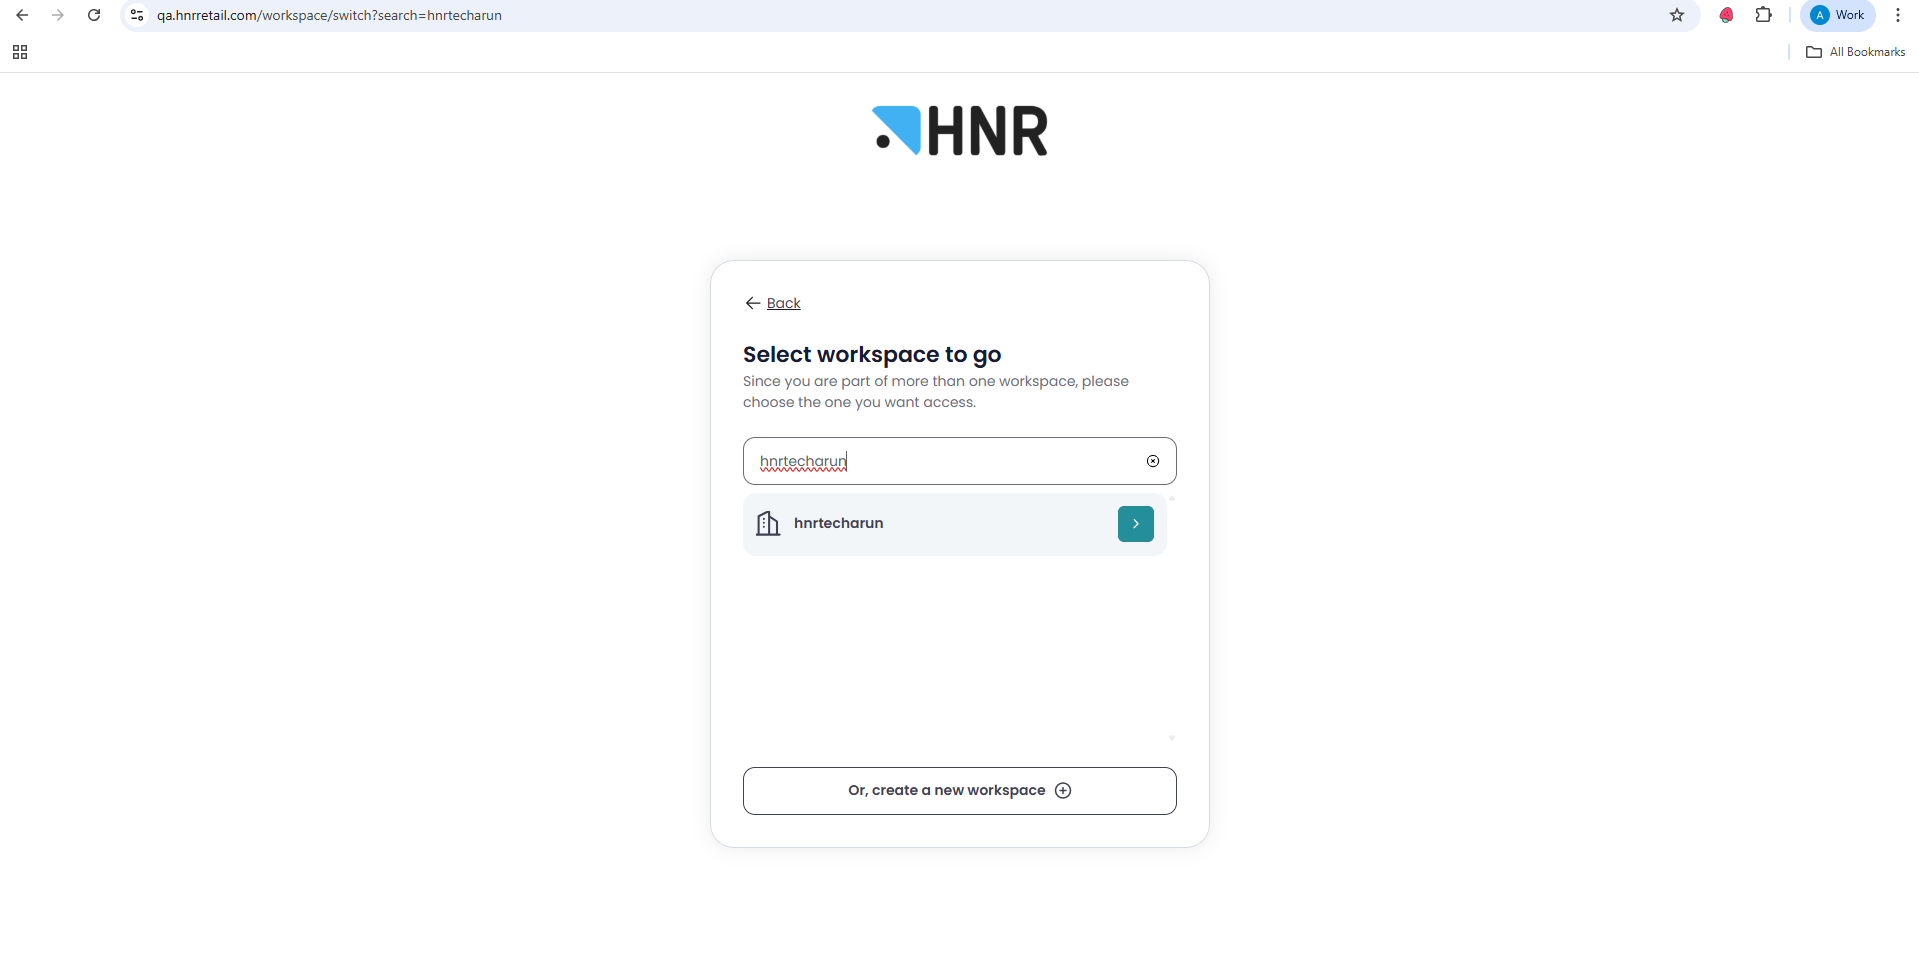
- Go to settings -> switch workspace -> search
Search for the workspace created through the domain flow. In this case, hnrtecharun is the workspace created through the domain flow.
Updated 12 months ago
Did this page help you?